The DIP secures your data with mutual Transport Layer Security (mTLS), using TLS certificates issued by GlobalSign. This page explains how to authenticate using your API key and PFX certificate.
Links to all onboarding steps
- Step 1: Accessing DIP and verifying company details
- Step 2: Managing your company’s users within DIP
- Step 3: Managing your GlobalSign account as part of DIP
- Step 4: Managing DIP certificates
- Step 5: Domain verification
- Step 6: Creating a Signing/mTLS certificate
- Step 7: Managing your DIP / DCP IDs
- Step 8: Managing your DIP Message Channels
Before you start
You will need to have:
- completed the GlobalSign Atlas account registration
- the API credentials and PFX certificate generated
Further reading
- DIP appendix 1 – certificates required for DIP
- DIP appendix 2 – mTLS certificates and market participant webhooks
- DIP appendix 3 – installing certificates on a webhook using the Azure function
- DIP domain and certificate renewal guide
Uploading GlobalSign API credentials
These steps need to be completed by the Certificate Admin.
Log in to the DIP and go to the ‘Certificates’ tab.
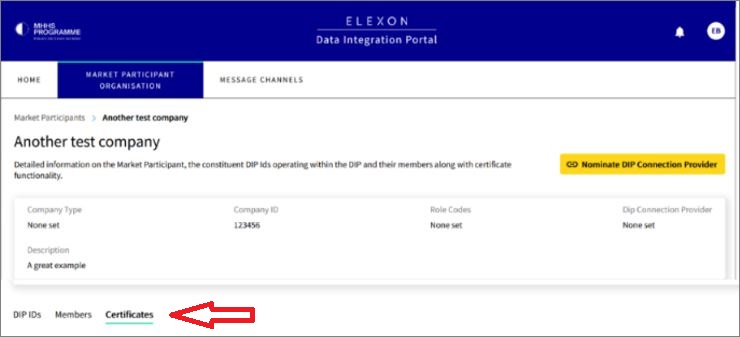
The Certificates screen will appear highlighting the stages you have completed within the GlobalSign process.
The GlobalSign registration stage must have been completed before you can proceed.
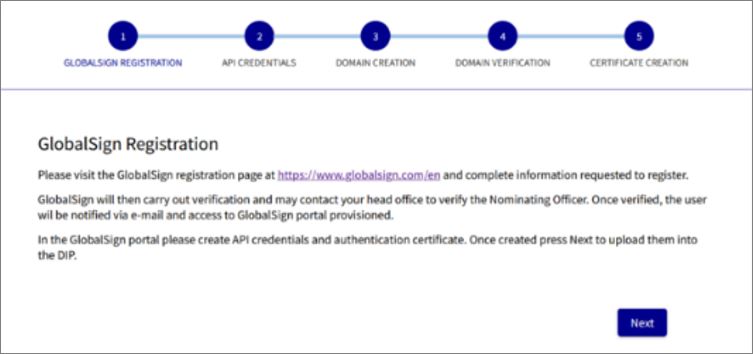
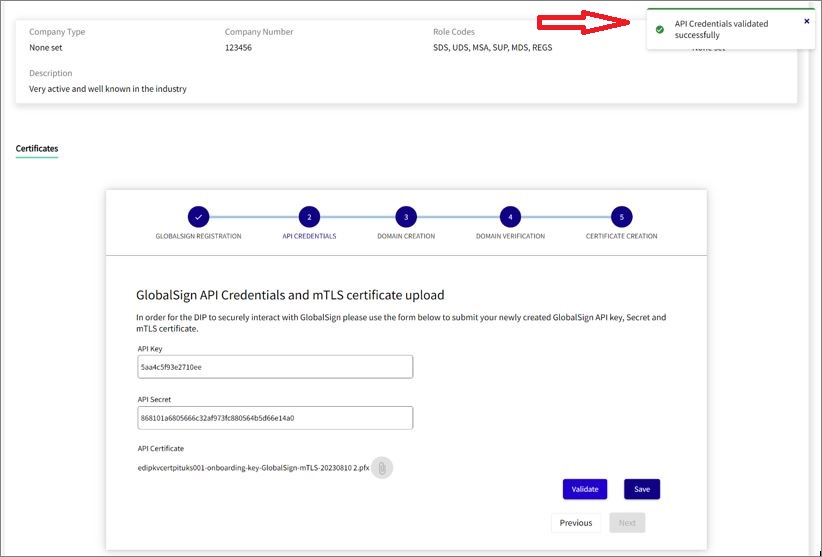
Click the NEXT button to proceed to the API Credentials stage. The Certificate Admin must now upload the GlobalSign API Key and Secret, together with the PFX Certificate, to the DIP.
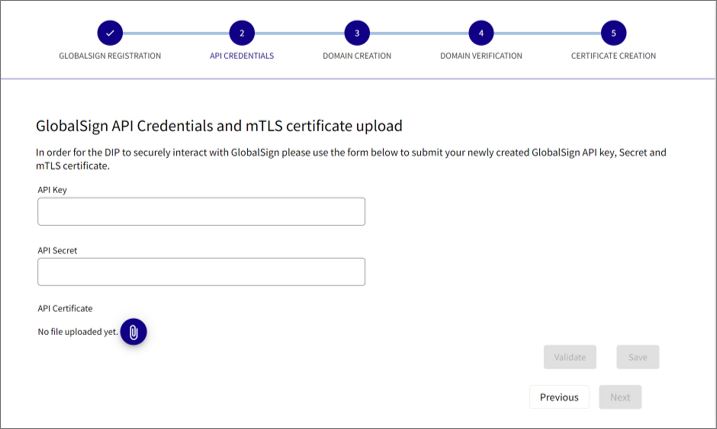
On this screen, complete the following fields:
- Insert the API Key
- Insert the API Secret
- Click to upload to attach the PFX Certificate
The ‘Validate’ button will then appear in blue. Click on the ‘Validate’ button to submit the information.
If the entries are confirmed a pop-up message of ‘Added successfully’ will appear. Click ‘Save’ to continue.
Invalid credentials will be rejected and you will need to contact the DIP manager for assistance.
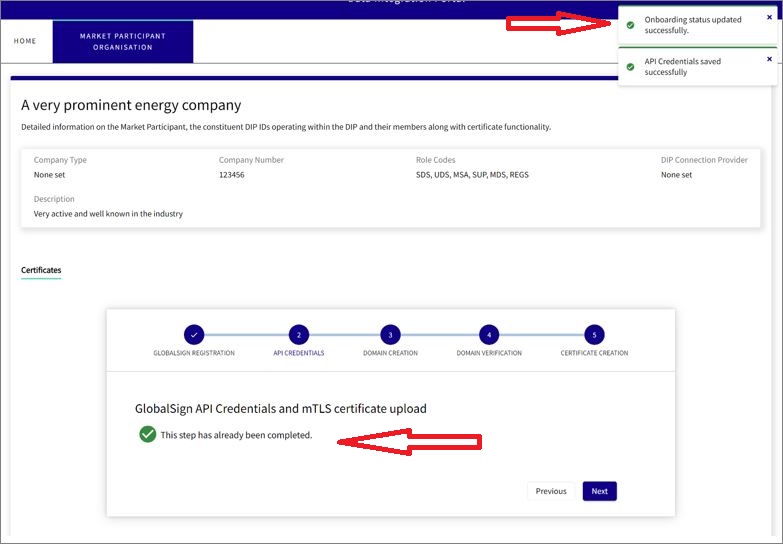
The following screen will appear showing the onboarding status updated successfully. Click ‘Next’ to proceed to Domain Registration and Verification stage.